Photo booths are an excellent tool to add a fun touch to your next party or event, but if you want to create your own homemade photo booth, you’ll need a little patience! Are you ready to get started?
To help you out, here’s a step-by-step guide to creating a homemade Photo Booth with a variety of tips and tricks to help you along the way.
Materials needed to make a Photo Booth
Before you begin, it is important to make sure you have the materials and tools you need to successfully build your Photo Booth.
Below is a list with everything you need to build your own homemade Photo Booth:
List of materials and tools needed to build a Photo Booth.
- A large board, covered with cardboard
- Black Tesa
- A cardboard photo frame to hold the board at the top
- Cork board to create a custom backdrop
- PVC pipes to hold the board
- Fabric or paper for the background
- Folders, paper clips and tape
photo booth background material options
Once you have the materials to build the structure of your Stand Up Photo Booth, it’s time to create a backdrop.
You can choose from a variety of materials, such as fabric, paper, printed fabrics, tarps, garlands, velcro, etc. You can choose to combine different materials for a unique and personalized look.
Steps to build a Photo Booth
With the list of materials in hand, now it’s time to start building the frame, the first thing to do is to attach the structure using the PVC pipes.
Once the frame is ready, proceed by placing the board on it so that it is firmly supported.
Next, drill holes in the board to place on it the cork board with which you will be forming the background and to place on it other additional elements.
Once you have made the holes in the board, it is time to place the background, it is best to place it with the help of tape or nails, to ensure that the background is attached and does not move easily.
Once this step is finished, you are ready to decorate the Photo Booth.
Photo booth customization
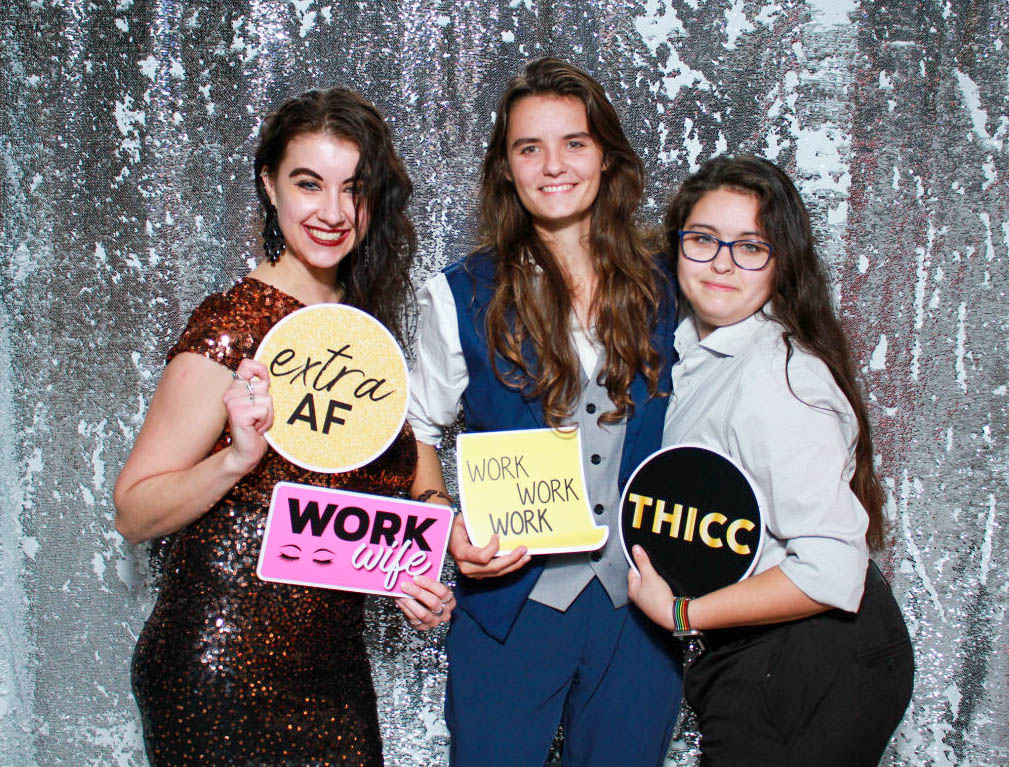
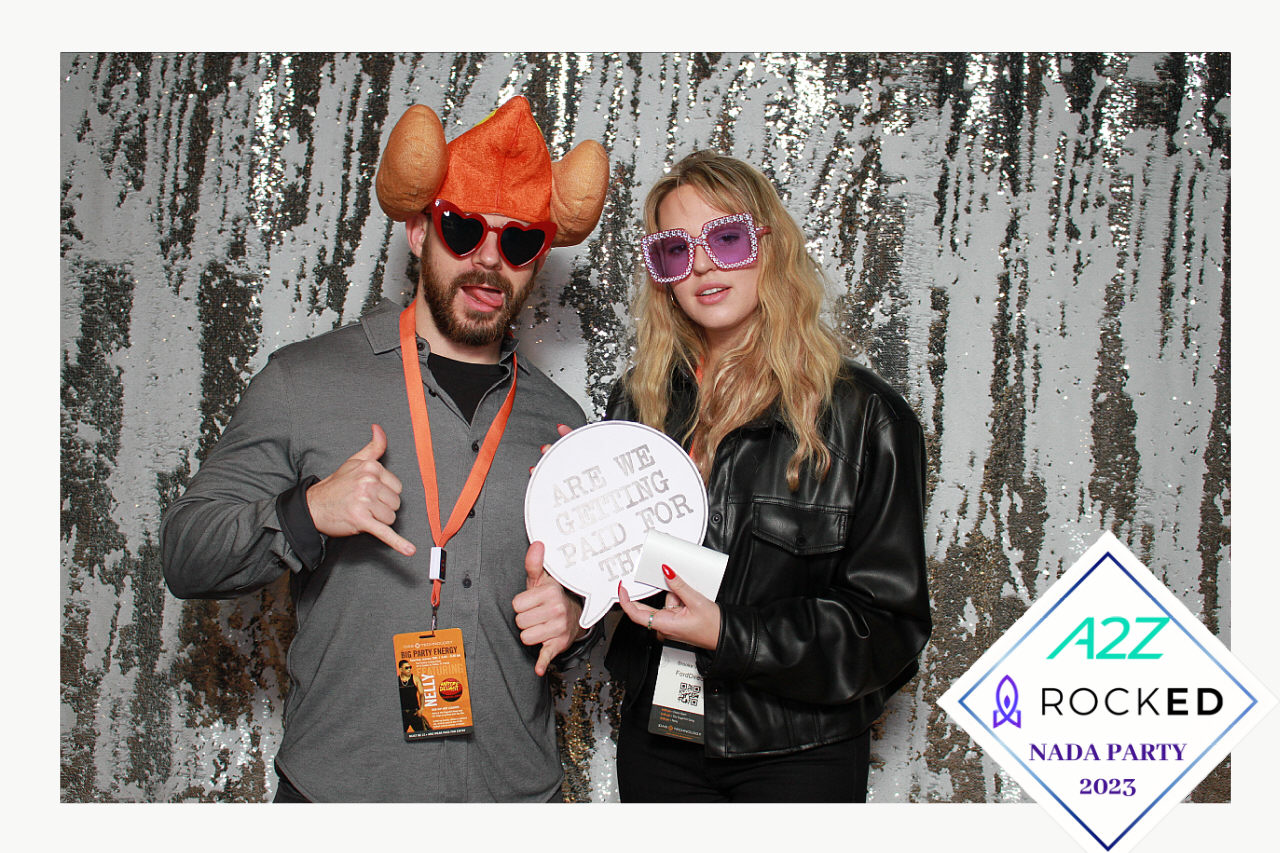
Once the frame is ready and everything is in place, it’s time to start with the customization. To do so, you can start placing the props you want to use for your photos, such as hats, glasses, bags, etc.
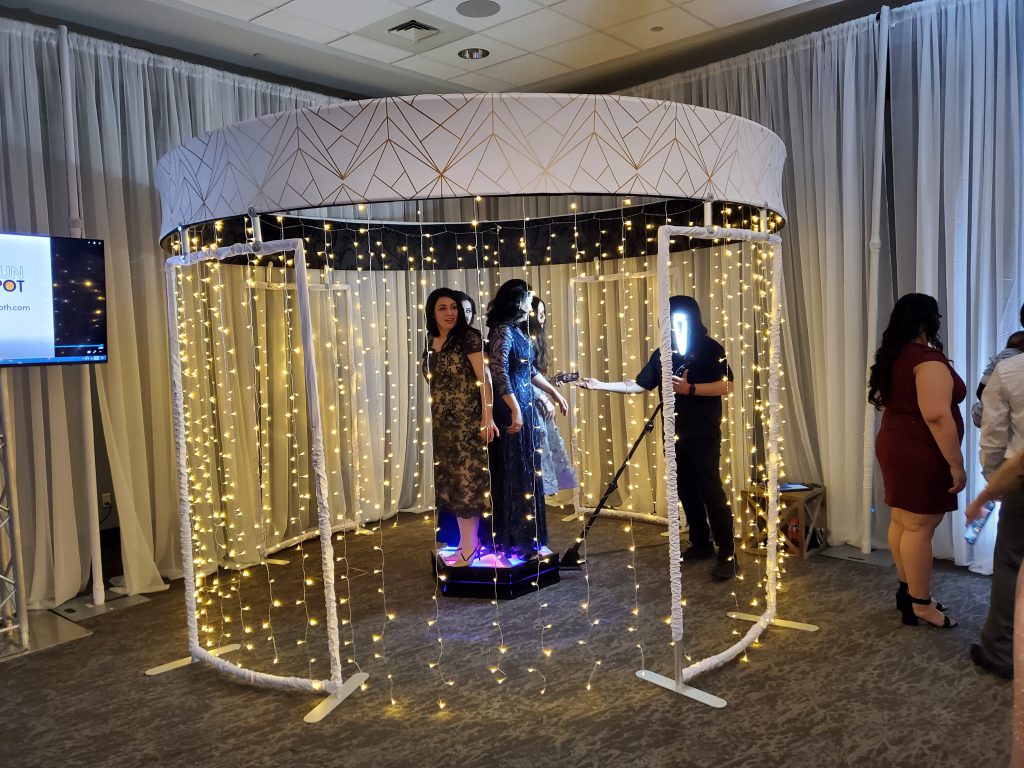
If you want to give it a more modern touch, you can also place some LED lights to create a unique and fun atmosphere.
Ideas to decorate and personalize the Photo Booth
You can also decorate it with different garlands to give it a funny effect. Finally, don’t forget to put some pictures with funny or motivational phrases for people to have fun when they see them.
Use of the photo booth
Now that you’re done, it’s time to use it! Consider making some kind of announcement to let people know about the Photo Booth so they can participate in your celebration.
You should also encourage people to wear props to make their photos more fun.
You may want to have someone who is in charge of providing people with the props they need, monitoring the line of people who want to participate and helping them upload photos to social media.
Suggestions to make the most of the Photo Booth at events and celebrations
Tips to make the most of Photo Booths at events and celebrations
Now that you have successfully created a Photo Booth, it’s time to make the most of it! Encourage your audience to share their photos using a hashtag created especially for the occasion. This will make your celebration even more visible.
In addition, you may want to offer your guests the possibility of getting printed photos of their experience as a souvenir to remember it fondly.
To do this, you should have a printer on hand and have an ample stock of paper to give to your guests.
Conclution
You’ve finally finished the process! If you have followed these steps, you will already have your own Photo Booth with which your guests will be able to have a great time during your next event.
Remember to customize and configure it to your liking so that your guests can have a great time, enjoy the event and make sure your guests have a great time!


